We are excited to share that we are now a Missouri Star Quilt Company wholesaler!
Check out what's in stock from Missouri Star on our website here
Today we'll show you how easy it is to use one of our favorite templates from Missouri Star- the small orange peel template.

To begin, you will need the following:
- 5" squares of fabric that will be your orange peels (we used a charm pack from Heather Bailey's line Clementine--you can find them on our website here)
- 5" squares of background fabric, which the orange peel will be sewn on to (we used FreeSpirit Essentials Solid in color 'Cream')
- lightweight fusible interfacing (we used ShirTailor)
**The amount of 5" squares that you'll need will depend on the size of the finished product you want to make! One charm pack will make a small wallhanging or table runner. For a throw sized quilt, you'll need about 4 charm packs (or roughly 170-5" squares of both orange peel and background fabrics).**
Once you have your squares ready, you're going to use the orange peel template to cut both your printed orange peel fabric, AND your interfacing. We stacked a layer or two of interfacing and fabric to expedite the cutting process, but do what makes you comfortable.
 |
You'll notice that the template has a number of holes


Mark the holes on the non-fusible side of your interfacing

You're ready to sew! Take one of your orange peel fabrics, and one of your interfacings, place the right side of the fabric against the fusible side of your interfacing. (YES! you read this correctly! Right side of your fabric against the fusible side of your interfacing!!) Sew along the entire edge with a 1/4" seam.

Once you've sewn your seam, you'll want to pull the two pieces apart a bit, as you'll be cutting the interfacing, but you don't want to cut your fabric.

Clip your interfacing, and cut a slit running between the two center dots you traced onto your interfacing


Turn right side out. Use a purple thang, stilleto, point turner, etc. to ensure you have crisp points. You should now have an orange peel that has your printed fabric on one side, and the fusible side of the interfacing on the other.


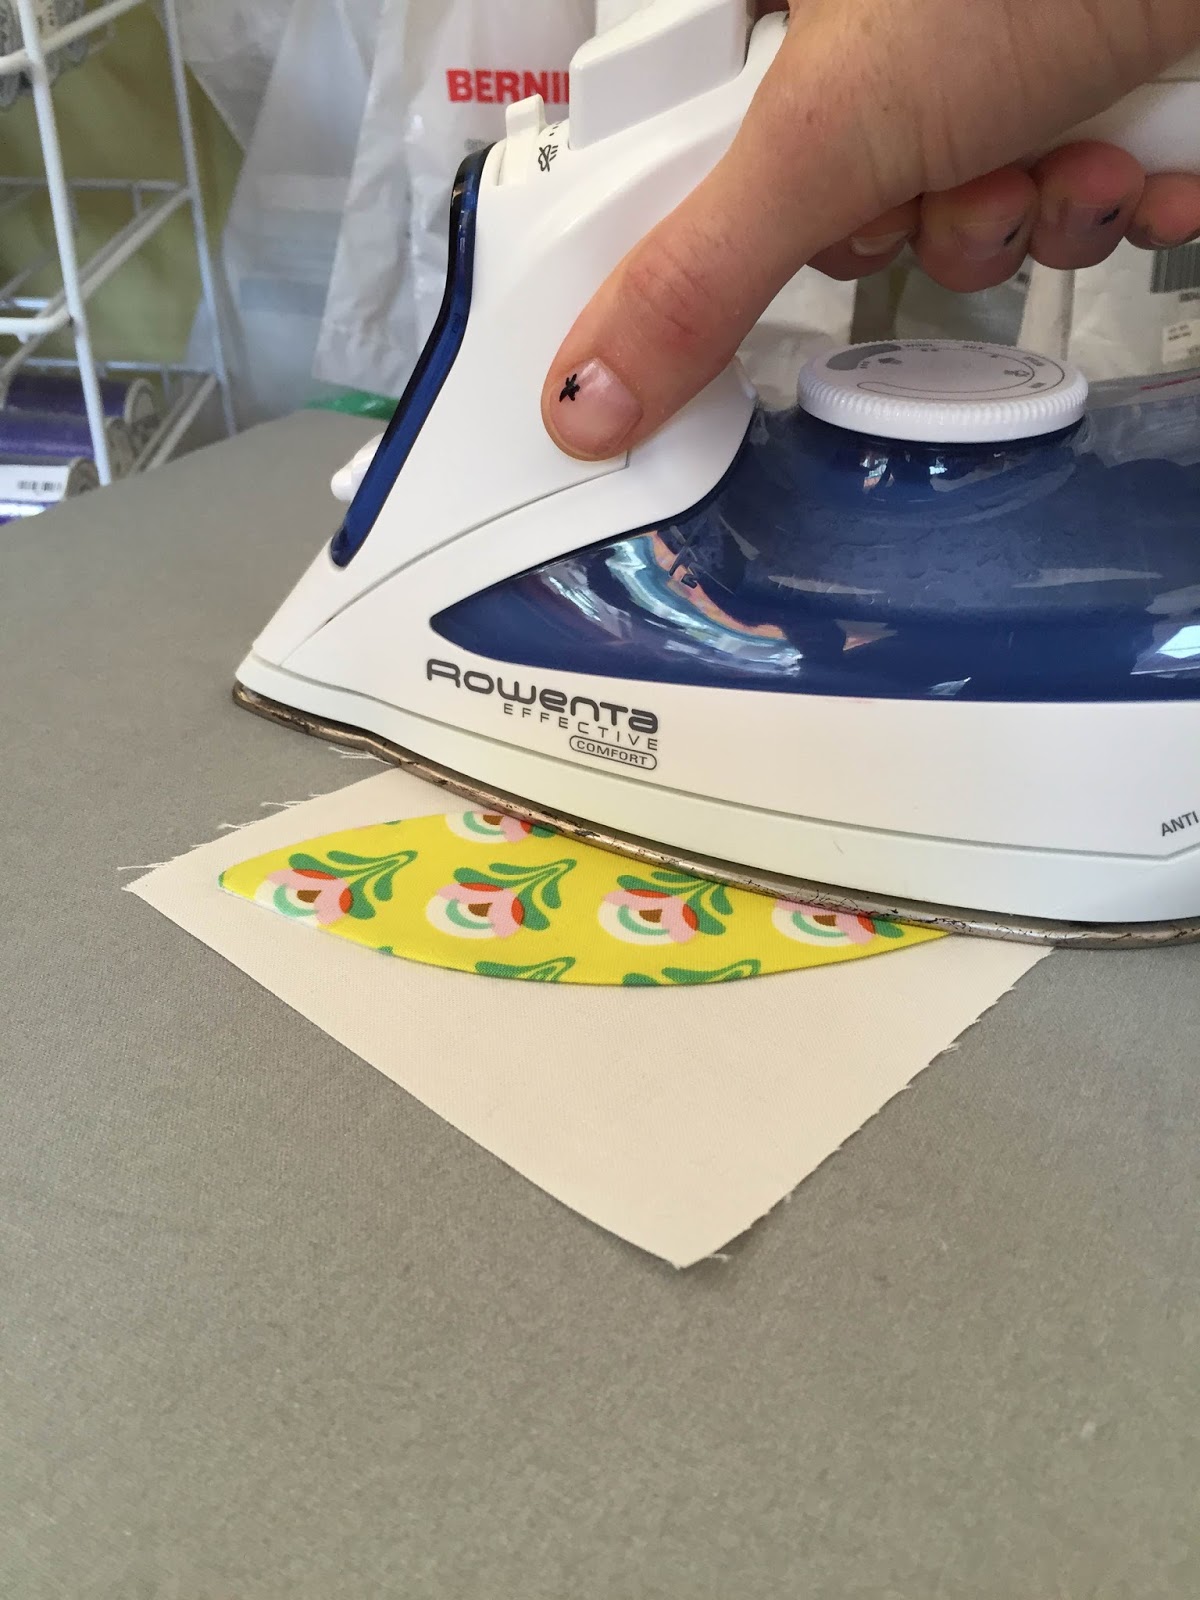
Grab your 5" background square, and press a crease to find the center line of the square. Place your orange peel, fusible side down, on the background square, making sure to center it between corners, and along the center fold.


Press with your hot iron, on both sides

Now that your orange peel is fused to your background, take it to your sewing machine. Using the line in the center of your #1 foot as a guide, use a zig zag stitch to sew your orange peel to your background. We did not need to change the stitch length/width of the standard zig zag stitch, but we recommend you do a test piece first, to ensure that your stitch is as you'd like it!


Continue with the rest of your orange peels. You can arrange your blocks in different ways for different designs. Look for a class on making an orange peel quilt in August, but until then, you can purchase the ruler here!


No comments:
Post a Comment